Step 3: Stitching
Now the fun part!
When you fire up PTGui you’ll see a simple screen like this:
The first thing to do is to bring in all our images. So hit the “Load images…” button, select all the files that your exported from Lightroom (or if you did not use Lightroom, just use the files you copied from your camera).
You’ll then see a long list of thumbnails. You may need to wait a little bit for these to finish loading before you continue.
The first thing we need to do is tell PTGui that this is an HDR panorama and link all the exposure brackets together so that it’ll understand that every 5 images is actually one photo (just with different exposures).
To do this, just go to Images > Link HDR Bracketed Exposures.
A confirmation dialog should pop up and tell you how many sets of how many brackets there are (in my case, 28 sets of 5 brackets). Just hit OK.
Now before we align the images, it’s a good idea to do some masking. We basically want to tell PTGui not to use certain portions of certain images that might confuse it.
An example of such an area would be the tripod that is visible at the bottom of some of the images – since some of the tripod (or pano head) is rotating with the camera, PTGui might get confused if it matches that area in each image.
Another thing we want to mask out is lens flares – when you add a mask in one image, PTGui will replace that portion of the panorama with content from a different photo, which will magically remove the lens flare.
So head on over to the Mask tab and slowly go through each image, and paint over anything you don’t want to see, like lens flares, the tripod, your own shadow, etc using the red mask. You’ll notice that since our exposure brackets are linked, you don’t have to paint on every photo, just one from each bracketed set. Since your tripod mask will look identical on every image, it’s a good idea to paint it once and then use the Copy/Paste buttons at the bottom left to speed things up. You can hold Shift to draw straight lines, or Ctrl to fill in an enclosed space.
When you’re done with that, go back to the Project Assistant tab and click Align images.
Another window will pop up asking about bracketed exposures. Make sure you choose the first option (linking the images again), and also choose “True HDR” at the bottom since we don’t want to tonemap the image.
PTGui will now go through all the images and try to find similar points between each of them (called “control points”). Usually it’s pretty good at this, but sometimes it will struggle a bit and may ask you to add control points manually (which is a time consuming process).
Lucky for me, it did a pretty good job on the first try!
If the Panorama Editor window isn’t already open, you can open it by hitting Ctrl-E. This window shows you (roughly) what the final panorama will look like, and lets you drag it around with the left and right mouse buttons to adjust the rotation.
If everything looks too dark or too bright, adjust the Exposure slider in the Exposure/HDR tab.
Just before we click the magic button, lets save our project in case anything goes wrong. As you can expect, you can just hit Ctrl-S or use the file menu.
And that’s it!
All that’s left is to choose what resolution we want in the Create Panorama tab (click “Set optimum size” to use the highest resolution possible), disable the JPG output option and finally click “Create Panorama”!
Depending on how powerful your computer is and what resolution you chose, this might take anywhere between a few seconds and several hours.
Once it’s done, there should be a .hdr file in the location that you saved the project!
Additional Notes
Below are some additional notes and suggestions when working with the HDRI Backdrop asset:
-
Interaction with the Sky Light Actor
When adding the HDRI Backdrop to your scene, it creates a dynamic Sky Light as a sub-component. If a regular Sky Light exists, it should be deleted. Otherwise, the scene will have multiple Sky Lights which will affect performance, quality, and the desired result in the scene.
-
-
HDR Image Stretching
To achieve the best result with minimal stretching, the UE4 Camera should be placed and looking around the origin of the projection. Adjusting the reduces the stretching in favor of relative scaling.
-
Ray Tracing Features
The HDRI Backdrop works with all of UE4’s light types along with supported Ray Tracing features. The HDRI Backdrop Blueprint includes a Sky Light component by default with Cast Ray Tracing Shadow enabled, which is the prerequisite to do proper image-based lighting (IBL) with ray tracing.
Also, keep in mind, that additional Ray Tracing features can be enabled and set in a Post Process Volume, when adding one to your scene. You can control Ambient Occlusion, Global Illumination, Translucency, and Reflections.
-
Intensity, HDR Content, and Exposure
The HDR image is fed into and driven by a Sky Light. The content of the HDR image will greatly affect the brightness of the scene. The HDRI Backdrop asset doesn’t attempt to perform normalizations of the pixel values in the HDR image to provide a stable intensity regardless of its content. This means that when you switch between different HDR images, you will need to adjust the Intensity since this is not handled automatically. However, this may be added in a future release.
-
High Precision Normals
Changing this G Buffer format option encodes the format at 16 bits per-channel. It produces higher quality reflections along smooth, high-poly geometry. When using the default format, you may see artifacts that present themselves as wavy reflections across these smooth, reflective surfaces.
In the Project Settings under Rendering > Optimizations, use the GBuffer Format dropdown to select High Precision Normals.
-
Reflection Capture Resolution
Changing this value enables you to have high quality reflections from Cubemaps and HDR images projected onto the skydome and Reflection Capture Actors in the scene.
In the Project Settings under the Rendering > Reflections category, set a power of 2 value for your desired Reflection Capture Resolution. This resolution will automatically apply to all reflection captures placed in your scene. For the Sky Light, you can set the maximum resolution value you want to use.
![Daz3d hdri tutorial: what it is and how to use [2022]](https://pvtest.ru/wp-content/uploads/9/a/1/9a1601576cbe8db71e24bd3bbce56bca.jpeg)


Dome Mode in Daz Studio
I have previously skipped the second option in the “Environment” menu. I did this because it is so extensive that it deserves special attention. The option is “Dome Mode”.
By default it is set to the “Infinite Sphere”, which means that the HDRI sphere is infinitely large in comparison to the scene. So when you zoom out of your objects, the image does not change at all. Which creates an illusion that your objects are getting smaller.
Change the “Dome mode” to the “Finite sphere”. Now if you try to zoom out, you should notice background changing too. This change can be really minor, to notice it better you can change the size of the Dome, as now it is finite. Options for this are “Dome Scale Multiplier” and “Dome Radius”.
![]()
In my case I almost can’t see the difference between Infinite and Finite spheres, so I have lowered both the options quite a bit. You also can change them to such low numbers, that you will see the Dome sphere itself. And if you lost the Dome by moving it or not sure where it is, there is the “Visualise Finite Dome” setting that will make it stand out:
![]()
The last variant of the Dome Mode is a “Finite Box”. It is really similar to the “Finite Sphere”, but a box instead of a sphere. You also can change its size, but in this case it is possible to change the Width, Height and Depth. This can be really useful when you are using an indoor HDRI, but for my outside scene the sphere is much better.
![]()
You probably noticed that each of the “Dome Mode” options we discussed above also have the “…w/ Ground” variant. And this does basically what it says, simulates ground. It is done in a quite interesting way. So here is the render with just a Finite Sphere:
![]()
It looks kinda like this statue is standing on that ground, but it is not too believable. Ground under the objects is even a bit blurred from the “Lighting Blur” setting. While the ball itself is in focus. Overall still looks a bit like a ball is levitating and not on the ground. Now let’s have a look at the same render, but on the “Finite Sphere w/ Ground”:
![]()
Right away you can see how much more believable this looks. Ground was shifted a bit and squeezed around the object. Which creates an illusion of perspective, that looks like the object is standing there.
To make this option work you should experiment with the scale of the Dome. In my case both “Scale Multiplier” and “Radius” are set to 25 and it works well.
Step 2: Cleaning
This step is optional, but I always do it to get the best possible quality from my HDRIs.
All we need to do is remove some of the lens artifacts in the photos, such as chromatic aberration, noise and vignetting. There’s a two-fold reason for doing this:
- Removing imperfections means prettier HDRIs
- It makes stitching easier – chromatic aberration and noise can sometimes confuse the stitching software
I recommend you use Lightroom for this, because it allows you to export 16-bit TIFFs that retain the EXIF data (a record of all the camera settings), which is absolutely required for stitching. There may be some other free software that can do this, but I don’t know of any. If there is no EXIF data, you’ll have to enter the exact shutter speed for each of your 135 images, which would be a real pain in the ass.
If you don’t have Lightroom, you can safely skip this step.
So once you’ve finished shooting, plug in your memory card or camera, fire up lightroom and import all the images.
Pick one of the well-exposed images (just so you can see what you’re doing, and head on over to the develop tab.
If you want to adjust the white balance at all, now is the time to do it. This image is a little too warm, so I’ll adjust it slightly.
![Daz3d hdri tutorial: what it is and how to use [2022] - renderguide.com](https://pvtest.ru/wp-content/uploads/9/6/e/96e395faae09d6f08cf42265360eeec5.jpeg)
![Daz3d hdri tutorial: what it is and how to use [2022] - renderguide.com](https://pvtest.ru/wp-content/uploads/f/f/1/ff18c9420c05008e3993a312ed0ca2d9.jpeg)
It’s important not to do anything too drastic here, like adjusting contrast or exposure to make it look pretty. Our number one priority is to maintain realism, all we want to do is fix things that are artifacts, like chromatic aberration.
So if you zoom into one of the corners, you’ll probably see some subtle purple/green or red/blue colour fringes:
This is easily fixed, just turning on the “Enable Profile Corrections” and “Remove Chromatic Aberration” in the lens corrections panel usually does a pretty good job:
You may need to look at the Profile tab and select your exact camera and lens combo if it’s not detected automatically.
Then all we have to do is copy these settings across to the rest of the images, so select them all at the bottom (Ctrl-A) and click the “Sync” button at the bottom right.
A window will pop up with all sorts of checkboxes. Just click the “Check All” button at the bottom left of that window, and then hit “Synchronize”. This will update all the selected images with the lens corrections and white balance adjustment.
Finally, hit Ctrl-Shift-E to export the images (also accessible from the file menu). You can put them wherever you like, but the most important thing is to set the output format to 16 bit TIFFs:
Компромисс
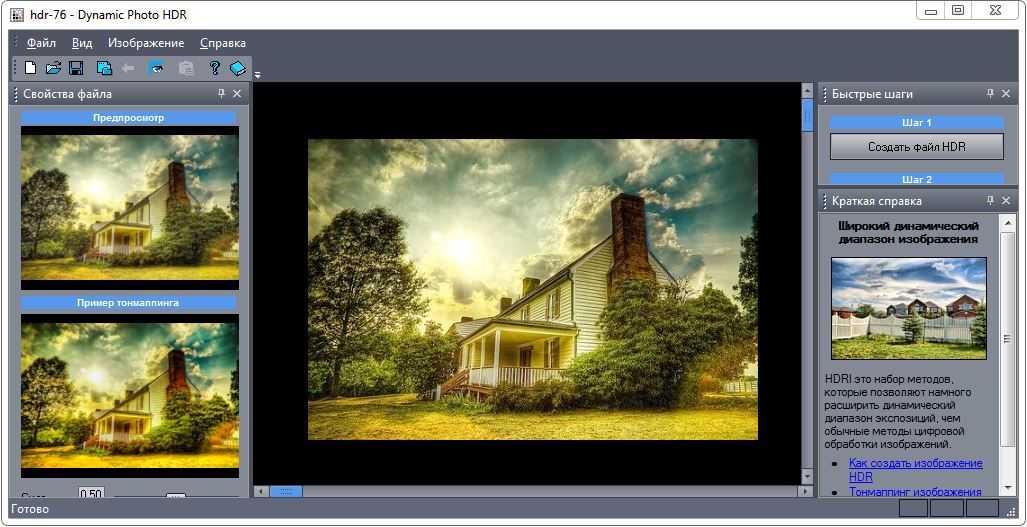
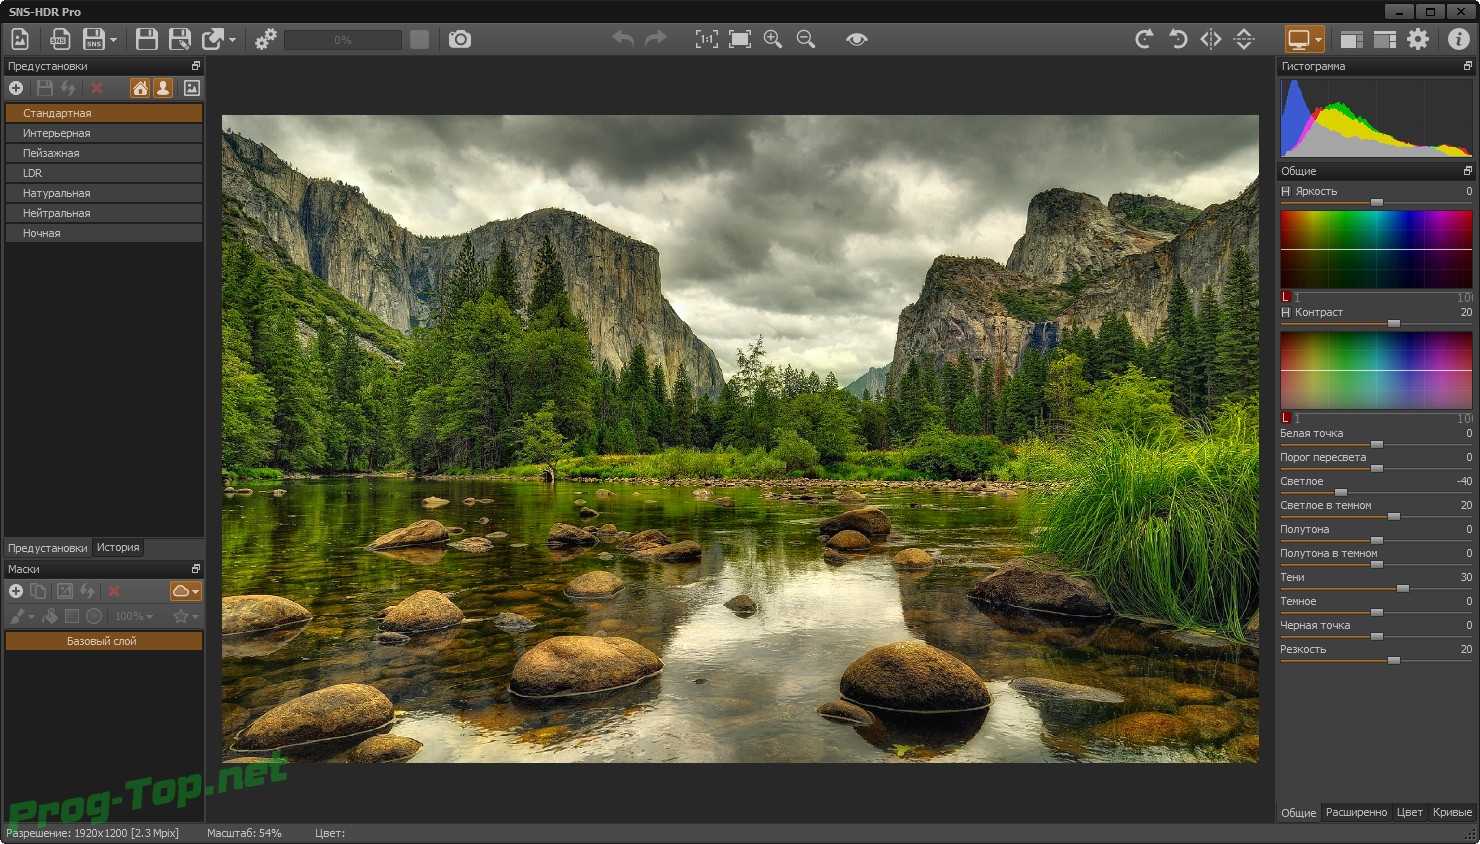
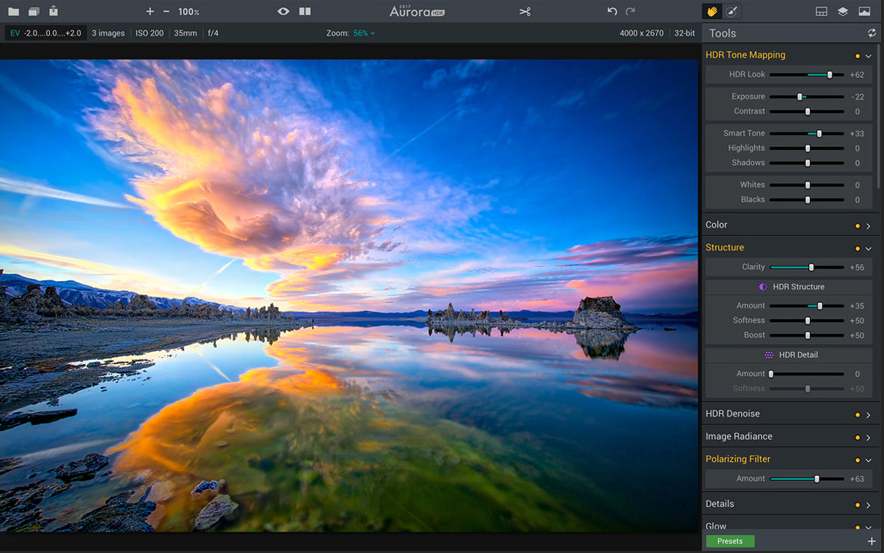
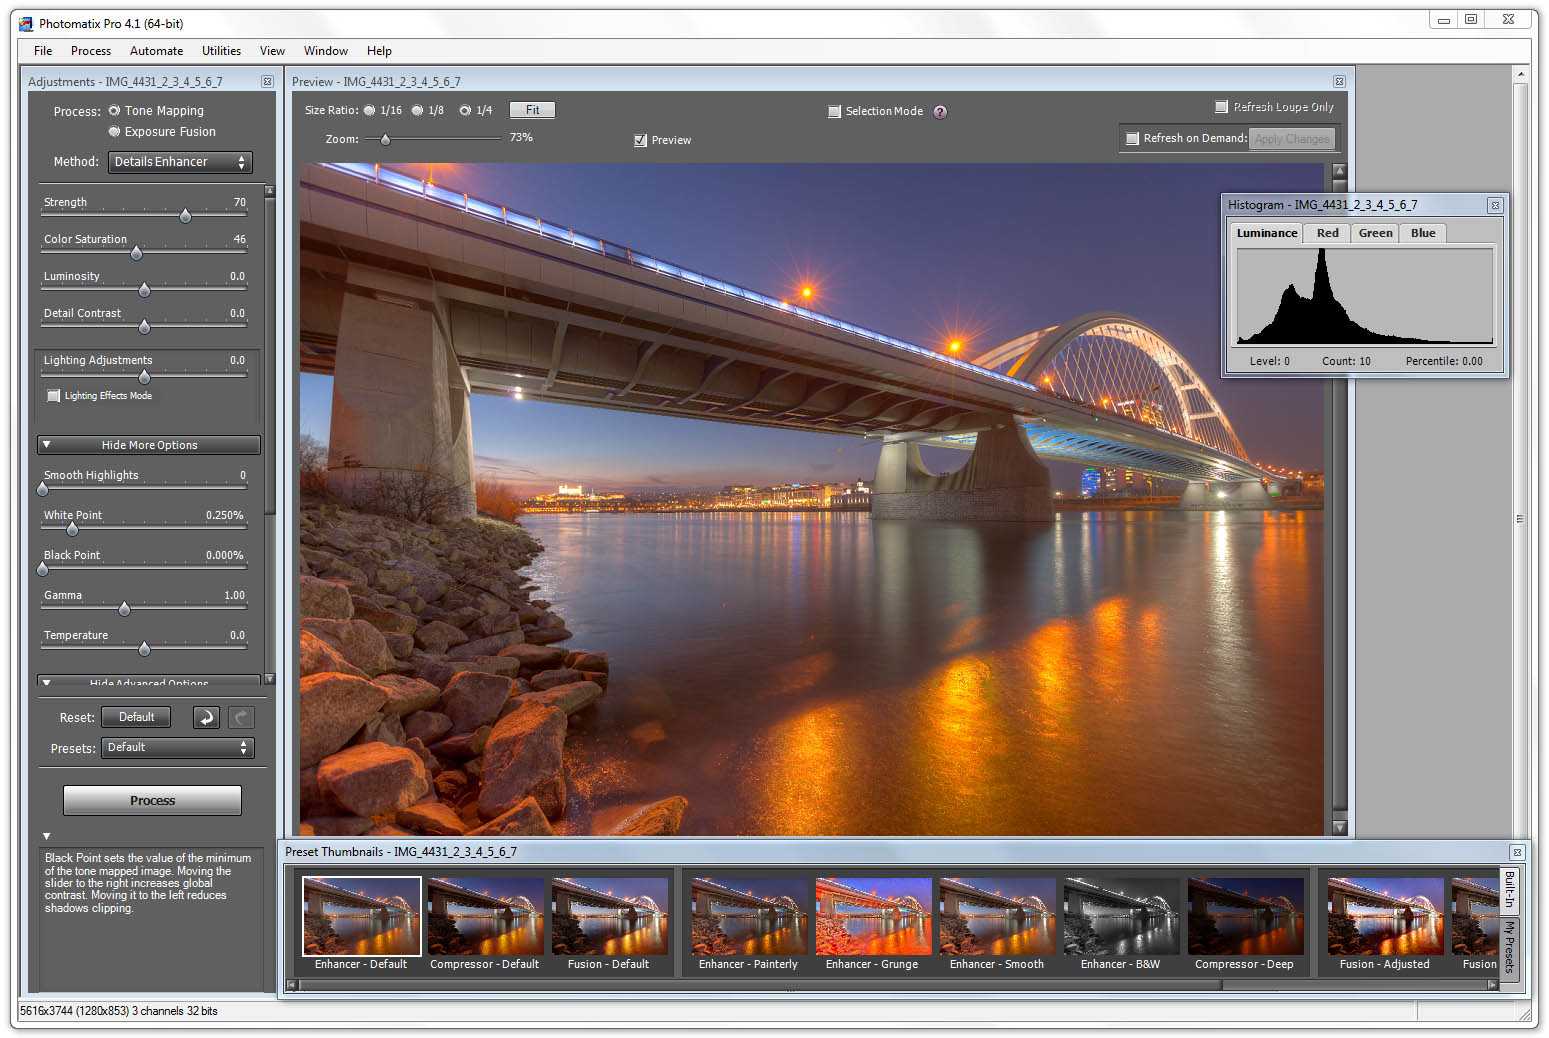
Также, как смешивание или тональное отображение, некоторые пресеты и эффекты могут придать снимкам эффект HDR. Ниже в тексте одна из моих фотографий. Необработанный RAW-файл выглядит довольно плоско.
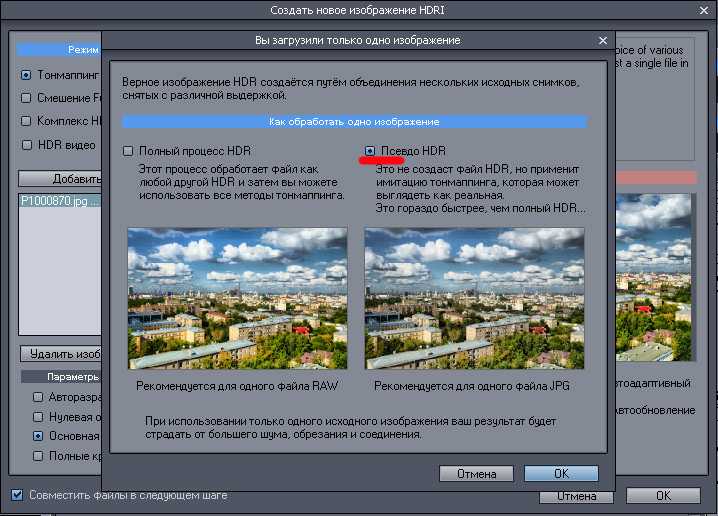
Я использовал набор Photoshop экшенов Dramatic Landscape Action от Sodasong. Помимо всего прочего, здесь есть HDR-эффект. Очевидно, что это не может быть настоящий HDR, так как здесь не вовлекается смешивание или тональное отображение, но этот эффект претендует на повторение результата его работы.
Когда я запустил экшен, он создал маску, чтобы можно было скрыть нежелательные участки, а затем добавил слои для резкости, яркости, контраста и цвета. Все они недеструктивны, поэтому вы можете в любое время вернуться к оригинальной фотографии. Это также значит, что можно корректировать каждый слой, пока не получится нужный результат.
Я решил оставить исходные настройки, чтобы вы смогли увидеть результат сразу же после запуска экшена.
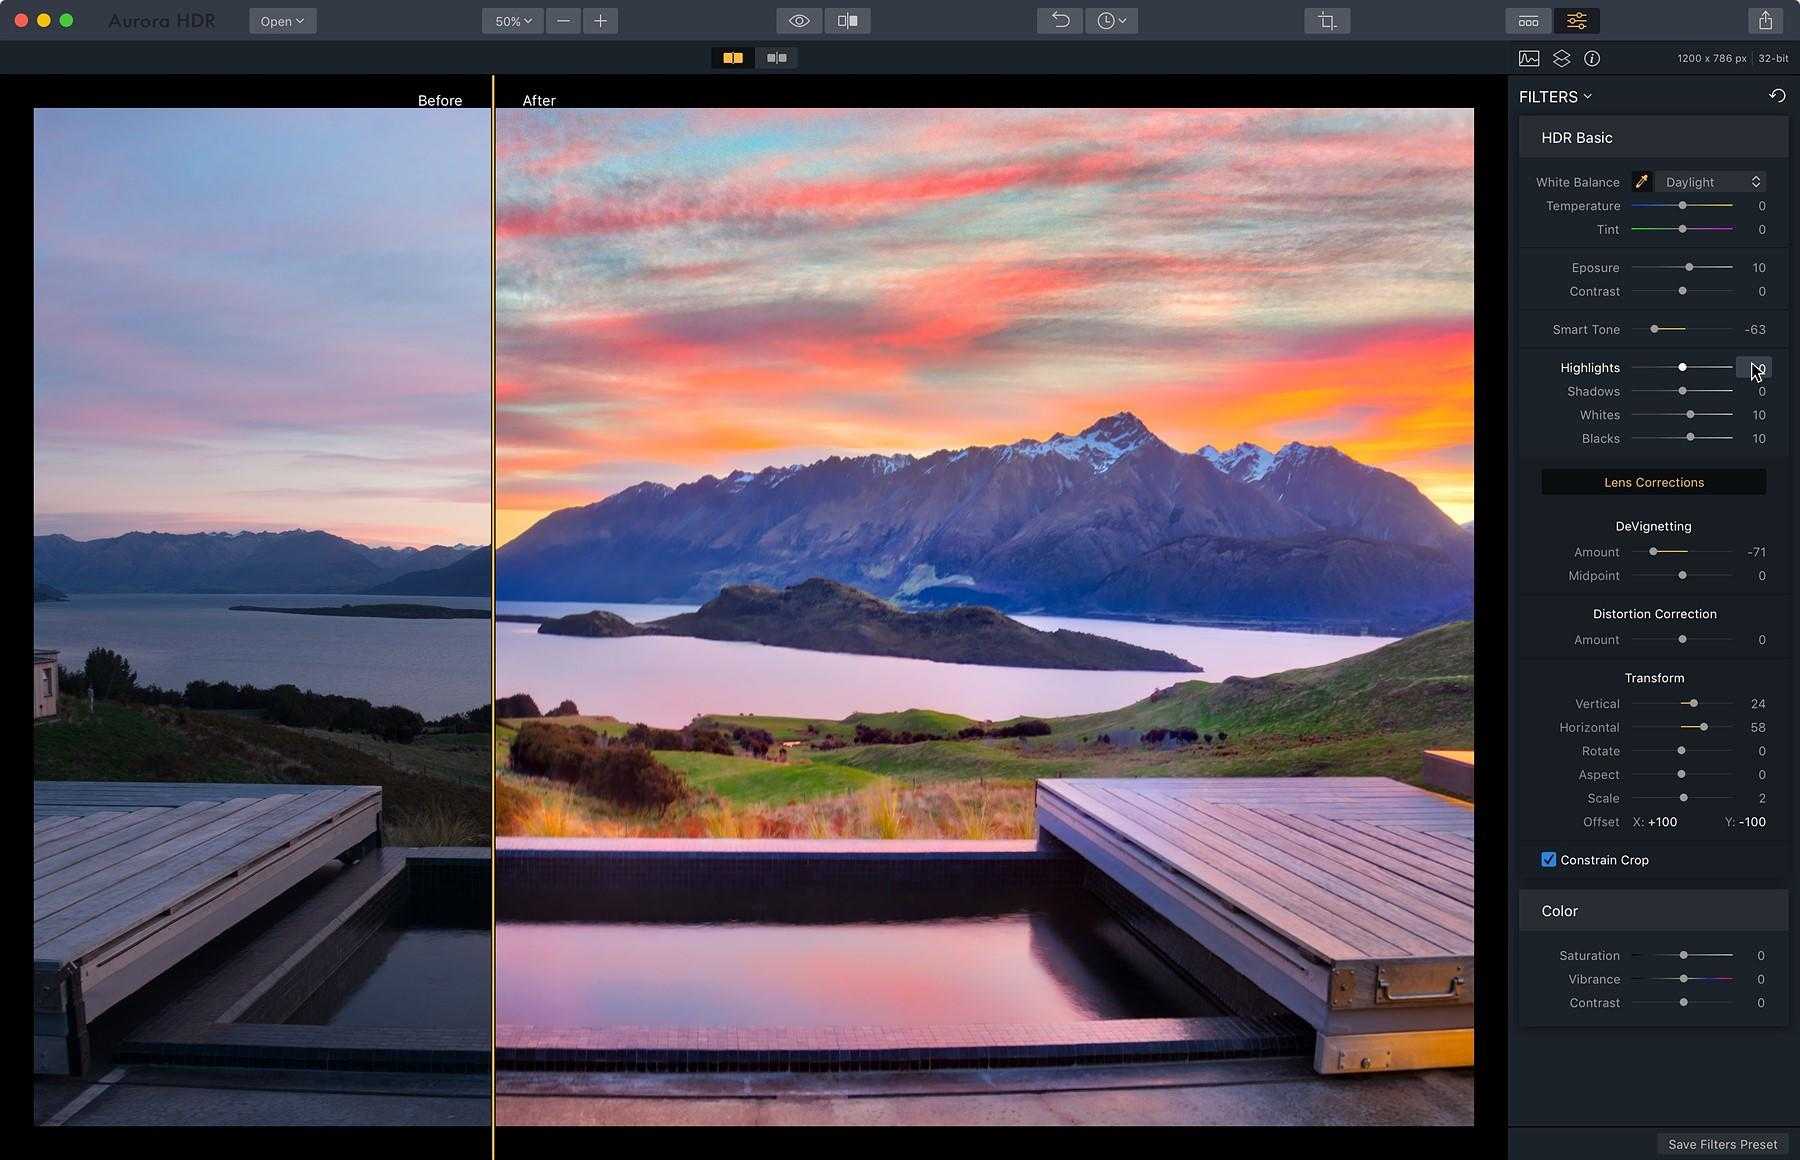
Можно заметить, как мы усилили цвета, а также подчеркнули резкость и контраст. Помимо прочего, плагин осветлил яркие участки и затемнил тени.
Левая часть – изображение до, правая – после.
Это очень неплохой результат для действия в один клик. Разница едва заметна, но слабый результат – это идеально, когда дело доходит до HDR. Можете считать, что успешно применили HDR, если результат выглядит нормальным, гармоничным и естественным.
Если у вас мало времени или вы просто хотите подкорректировать снимок, экшен – идеальный вариант: его можно быстро запустить, он вносит легкие коррекции и не выходит за рамки. Это именно то, что нужно – экшен позволяет вам свободно вносить свои правки.
Потенциальные проблемы
Движение
Поскольку вам нужно как минимум три снимка для получения HDR изображения, разумно будет избегать движения. Если что-то движется, даже ветки дерева на ветру, очевидно, что на фотографиях этот предмет получится по-разному и в итоге будет выглядеть размытым или странным.
Слишком высокая насыщенность
Если сцена полна высококонтрастных цветов, использование HDR усилит это, часто в ущерб фотографии. Может потребоваться обесцветить снимок после обработки, чтобы убрать излишнюю насыщенность. Также и с зонами низкого контраста или цвета – в результате можно получить плоский, замыленный вид.
Быстродействие компьютера
Если вы обрабатываете много больших RAW файлов, компьютер может начать тормозить. Убедитесь, что запланированные обновления не помешают обработке и найдется достаточно свободной оперативной памяти для работы. Современные компьютеры отлично справляются с редактированием больших объемов фотографий, но всё еще есть риск, что при слишком серьезных запросах программа может зависнуть.
Main Daz3d HDRI Settings
Next in our Daz3d HDRI Tutorial is about going through each important Daz Studio HDRI setting from the “Environment” section.
First one – “Environment mode” will let you select what environment you want to use. Meaning, the default “Dome and Scene” will use the scene lighting, such as spotlights and also all the environmental lighting, such as HDRI simultaneously. There are options to use “Dome only” and “Scene only” which will use only the environmental lighting, ignoring scene and vice versa.
![]()
Also there is one more option – “Sun-Sky only”. This will use only a part of environmental lighting, that is called sun-sky. This does not utilize HDRI in any way and instead simulates the sky and sun that you can control. More about this – Daz3d Iray Lighting Tutorial.


After that let’s look at the “Environment Intensity” and “Environmental Map” sliders. They are basically the same thing. Control how bright lighting from the image affects everything:
![]()
Both need to be higher than 0 for render not to be black. In my case default values of 1 and 2 work good, so I will leave them as is.
“Environmental Lighting Resolution” decides the lighting and thereafter, shadows resolutions. Higher it is – better should your render look. But this does not mean that you just want to skyrocket this setting. I, usually, match this setting with the resolution of my HDR image and consider this the best way:
![]()
Next is the “Environmental Lighting Blur” switch. If you turn it on, Daz Studio will blur the HDRI that you use. You will see the change if you use the image as background. Consequently this will soften the shadows. Really useful option when your image has everything in focus, which makes it look unrealistic and shadows are too sharp – have a look at our Daz3d Depth of View article to learn more about this technique.
After that, there are “Dome Orientation” and “Rotation” options. So you can change the position of the HDR image compared to your scene. For example, if in your case some tree or building from the picture covers the object, thus hiding it from the lighting source. So you can change that without any problem. I used this function to place Daz Studio HDRI in the way, so the building is right in the center of a reflective surface:
![]()
Last setting that we are going to touch in this section is the “Draw ground”. When it is on, the Daz Studio will create an invisible plane that also catches shadows. So this could simulate like your objects are standing on the ground of the image, instead of appearing like they are floating:
![]()
Although there is a better way of simulating this, which we will look into in the next section.
Conclusion – Daz3d HDRI Tutorial
This Daz3d HDRI Tutorial should have explained to you what is the whole purpose of the HDRIs, how are they so convenient and useful and how to use them properly in the Daz Studio. They provide you with both a realistic, believable lighting and a background. At the same time don’t even extend render times by a lot.
Though it is important to understand that using only HDRIs in your scenes is not a good practice. There are some good images that can provide you with everything you need for the scene. But most of the time it is a good idea to combine the HDRI with the hand-made lighting. Same way as shown in our Daz3d Iray Lighting Tutorial. Also have a look at our other Daz Tutorials and Top 3d Models reviews.


