HDRI Backdrop Settings
The following settings can be set, enabled, and adjusted from the Details panel of the HDRI Backdrop asset when selected in your level:
|
Property |
Description |
|---|---|
|
Cubemap |
Assign an imported HDR image that will be projected onto the ground and backdrop, and is used by the built-in Sky Light source. |
|
Intensity |
Sets the intensity of the embedded Sky Light and how emissive the backdrop HDR image is. Higher values result in brighter ambient lighting being samples from the HDR image (cd/m2). Note that the physical lighting units are measured in cd/m2, like the Sky Light or Emissive Materials. Sun and Sky sources have that range in the thousands of units, which it does hand-in-hand with physical cameras where the Exposure Value (EV) are in the range of EV100:14 (see the «Sunny 16» rule). However, with the HDRI Backdrop asset, it is not required to use physically correct values, but you may need to set the EV to something significantly lower than the EV100:14. It’s also worth noting that some HDR images range from 0 to 5.0 or greater than 5 cd/m2 while others are ranging from 0 to 100K units. This means that when you swap HDR images, there may be a noticeable difference in brightness changing. |
|
Size |
Sets the size (in meters) of the mesh used to project the HDR image. It controls the diameter of the backdrop mesh and should be adjusted based on the HDR image used, the horizon height, and the content in the scene. For most exterior scenes, a typical size should be approximately 100 meters. |
|
Projection Center |
Defines the projection point of the HDR image. |
|
Lighting Distance Factor |
Specifies the ground area that will be affected by lighting and shadows. Lit areas will have slightly different shading depending on the intensity and other lighting parameters in the scene. This enables the lit area range to blend smoothly around the camera to reduce shading differences with the background HDR projection. |
|
Use Camera Projection |
Disables ground tracking and enables the HDR image to follow the camera. |
|
Mesh |
Specify a custom Static Mesh object to use as a backdrop from which the HDR image is projected. |
Projection Center
The Projection Center of the HDR image on the backdrop should be set to match the height of the camera used to capture the image.
Select the 3D gizmo to define the central location of the projection in 3D space:
Or, you can manually enter these values in the transform text boxes (however, for the smoothest interaction, it’s recommended to use the 3D gizmo in the viewport):
-
Z (Height) should be approximately 90 centimeters (cm), which is the average height of a camera tripod used to capture the HDR image. However, the height depends on the height of the camera that was used to capture the image, so you may need a different value.
-
X and Y enables you to offset the projection origin. In most instances, this shouldn’t be changed.
Lighting Distance Factor
You can add your own lighting to your scene and adjust any of the parameters, however, there may be instances where the lighting and shadow intensity differs from the backdrop. The Lighting Distance Factor enables you to define the ground area around the camera to blend the scene’s lighting and shadows to reduce these differences.
The Lighting Distance Factor value is a percentage of the Dome’s Size value. A typical value would be around 0.5, or a little higher. Artifacts can happen if this is not used carefully. When set too high, a horizontal line will appear at the backdrop edge, and lower values will help to resolve these artifacts.
In instances where compositing shadows and ambient occlusion (AO) on the backdrop is not needed, you can set the value to 0.
Workflow
-
Import a spherical HDR image that uses latitude and longitude in to UE4 using the Content Browser. You can do this by using the Import Button, Right-Click context menu, or Drag-and-Drop methods.
Once imported, be sure to set the appropriate Maximum Texture Size and Mip Gen Settings for the HDR image in the Texture Editor. For additional information, see the section of this page.
Use HDRI Haven’s site to download some interesting HDR images for free, or you can use some of the ones available in UE4 that work well with the HDRI Backdrop Actor. Use the Content Browser’s View Options to enable Show Engine Content and Show Plugin Content to display Cubemap Assets available for use. UE4 includes some by default that are stored in the folder.
-
Click the File menu and select New Level. Then, in the New Level window, select Empty Level.
-
In the Place Actors panel under Lights, click and drag the HDRI Backdrop asset into the Level Viewport.
Click image for full size.
-
With the HDRI Backdrop asset selected in your level, use the Details panel to set the following:
Click image for full size.
-
Cubemap: Choose a cubemap from the available options or drag one from the Content Browser onto this slot.
Use the Mesh assignment parameter to select an appropriate mesh when using cubemaps that don’t display well with a dome or spherical shaped mesh, such as a warehouse or boxed style space.
-
Size: Adjust the value here to set the size of the mesh that the HDR image is being projected onto.
-
Projection Center: Select the 3D gizmo to move the projection center to match your camera placement and adjust as needed to reduce skewing and stretching of the HDR image on the backdrop.
See the section of this page for further details about these and other settings you can adjust.
-
-
Optionally, add a Light Source and set it to Movable if you want dynamic shadows in your visualization.
HDR Image Setup
When you import an HDR image as an Unreal Asset, it isn’t modified by the HDRI Backdrop Actor. You need to manually apply several settings in the Texture Editor first:
Click image for full size.
-
The Imported, Displayed, and Max-In-Game resolution of this HDR image.
-
The Maximum Texture Size should match the larger resolution value of the imported HDR image — 4096 in this example.
-
The Mip Gen Settings should be set to NoMipmaps to use the full quality.
If you do not change these values, your HDR image will not appear correctly. It will have low resolution and look muddy.
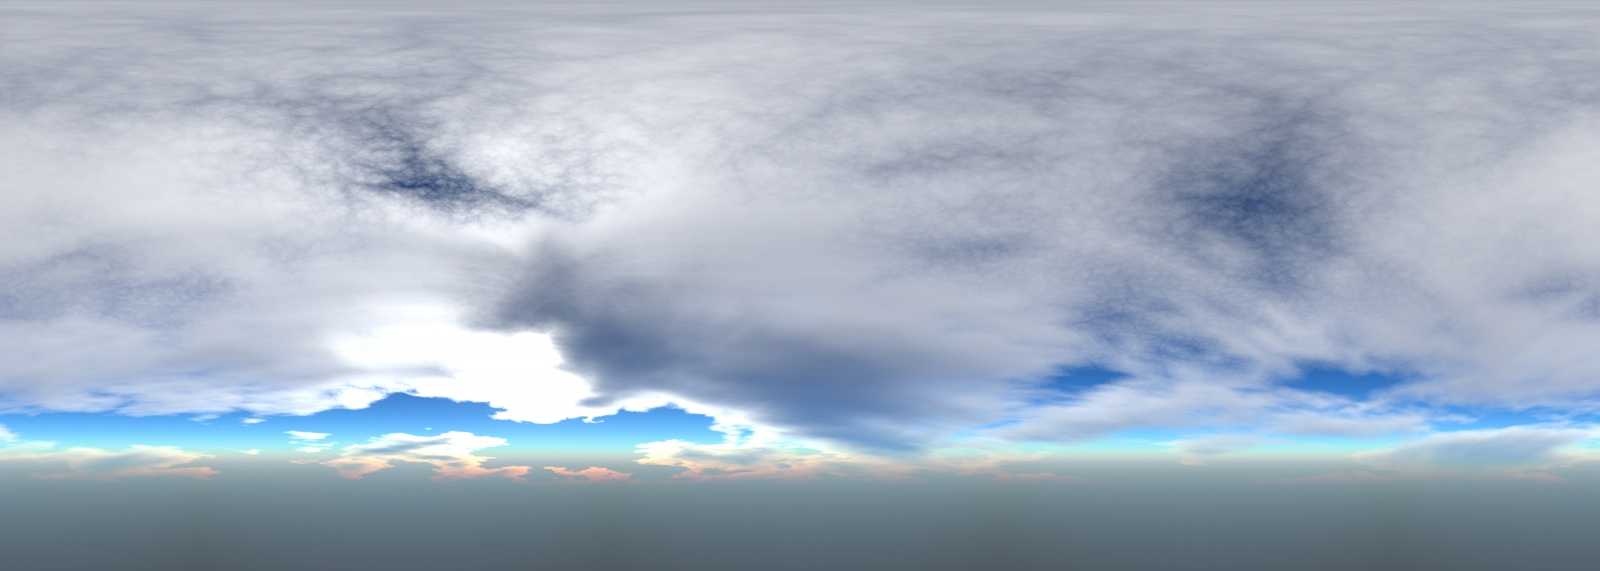
![Бесплатный hdr - 10 лучших веб-сайтов, на которых вы можете бесплатно скачать hdri в 2021 г. [hot]](https://pvtest.ru/wp-content/uploads/5/4/0/54017069cc4010123ec477f78dd9e8be.jpeg)
![10 лучших веб-сайтов, которые можно получить бесплатно в формате hdri [обновление 2021 г.]](https://pvtest.ru/wp-content/uploads/4/c/9/4c9c6d28c32d0660ef5b20874ad43a15.jpeg)
HDR Image Backdrop Mesh Setup
Not all HDR images are created equal and may require their own custom geometry to project onto. In the Editor, UE4 provides several backdrop meshes to choose from, in addition to the HDR images provided.
Before you can see the available Static Meshes in the asset selection box, you must first use the View Options to enable Show Engine Content and Show Plugin Content.
Click image for full size.
Use the asset selection box next to Mesh to choose a environment mesh to project the HDR image onto. This can be any Static Mesh, such as custom geometry you’ve created or one of the three that UE4 provides.
|
Backdrop Mesh |
Mesh |
Description |
|---|---|---|
|
EnviroDome |
A sky dome mesh with a ground plane that is ideal for large exterior environment HDR images. |
|
|
EnviroBoxSharp |
A box environment with hard edges that is ideal for interior environments, like a warehouse or space with walls that are well defined. |
|
|
EnviroBox |
A box environment with smoothed edges that is ideal for studio-like environments, often ones like those with single color backdrop cloths. |
Below, these examples demonstrate each Mesh backdrop included with UE4:
|
Default EnviroDome |
EnviroBoxSharp |
EnviroBox |
Vray HDRI — How to add Hdri lighting in Vray 5 for 3ds max.
67003
1397
47
00:06:52
30.11.2020
Learn how to add HDRI lighting using HDRI in 3ds Max and Vray 5
what up guys, Idan here from arch viz champ, the best place to learn the arch-viz BIZ!
Let’s dive right into the lesson!
lesson breakdown
1.add vraybitmap (vrayHDRI map in older versions)
2.load hdr image.
3.set mapping to spherical.
4.add Vray dome light and assign the texture to it as an instance.
note: you can add the hdri directly to the 3ds max environment slot. It will produce the same result, BUT it will render a bit slower and we’ll get fewer options to tweak instead of using the Vray Dome light.
you can control the exposure of the map from the dome light multiplier or from the intensity controller under the map settings. or by changing the camera exposure value.
you can change the horizontal direction of the sun in 2 ways:
by rotating the dome light on the Z-axis, make sure to enable “lock texture to icon” under the Dome settings tab.
by rotating the horiz.rotation in the map settings.
you can also mirror the map by clicking on the flip horizontal option.
if the shadows produced by the HDR image aren’t strong enough, you can increase the map contrast by lowering the inverse gamma option (in the map settings). make sure not to go below 0.75.
tip: you can control the color and hue of the hdri right from 3ds max by adding a color correction map to it.
you can implement this technique for exterior or interior scenes and even as a virtual studio lighting setup. just make sure to use good quality hdr images. click like and subscribe and I’ll see you next time!
️Join my Online Course Academy️
🤍
️ My Gear & tools Recommendation: 🤍
Aristo Studio -My Comercial Studio: 🤍
Find me on other social media platforms
Instagram: 🤍
Twitter: 🤍
Facebook: 🤍
#archvizchamp #tutorial #archviz #3d
Bake HDRI maps in Octane and C4D
12541
641
62
00:14:02
12.02.2021
Today we’ll learn how to bake HDRI maps in Octane and Cinema 4D. We’ll use the Octane Panoramic Camera to bake the HDRI maps and light our C4D scene.
If you missed our last video about rendering faster in Octane you can watch it here: 🤍
LEARN MORE ABOUT OCTANE
Try our Ultimate Octane Masterclass and become an Octane master in no time!
Available here ➜ 🤍
Get More Videos and Free Stuff — Subscribe ➜ 🤍
Ask me a Question or let me know what you want to see next in the comments section below!
▼ FOLLOW US ▼
Website: 🤍
Courses: 🤍
Patreon: 🤍
Facebook: 🤍
Instagram: 🤍
Twitter: 🤍
Reddit: 🤍
Skillshare: 🤍
Udemy: 🤍
Behance: 🤍
#CGShortcuts #Cinema4D #C4D
Rendering in SketchUp with Twilight Render Pro Part 4 : Environment, HDRI and Skies
8657
122
25
00:17:17
21.08.2019


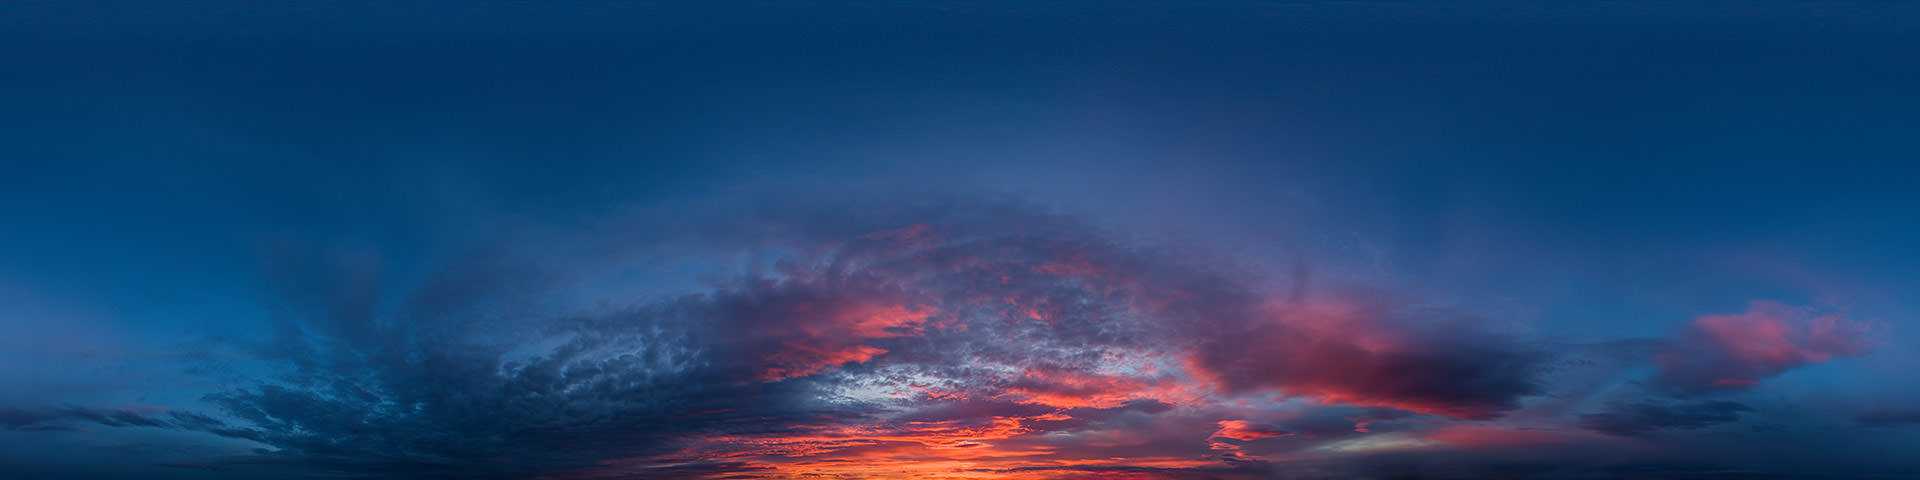
![Бесплатный hdr - 10 лучших веб-сайтов, на которых вы можете бесплатно скачать hdri в 2021 г. [hot]](https://pvtest.ru/wp-content/uploads/7/7/f/77f2af1d2a64f847c85406db07baf409.jpeg)
Part 4 of 6 Essentials to Rendering with SketchUp and Twilight Render V2 Pro: Environment, HDRI, and Skies.
How to add a sky, spherical sky, or use HDR or HDRI sky in Twilight Render.
NOTE: Some features shown may be available in Pro version only.
Twilight Render Plugin Hobby is free to all SketchUp users and works with all 64 bit versions of SketchUp.
Download practice scenes from the Twilight Render forum:
🤍
BUY TWILIGHT RENDER PRO AND AI DENOISE ADD-ON:
🤍
Join the Twilight Render community forum today and download this scene to work along at home.
🤍
Twilight Render is a photo-realistic rendering plugin compatible with Trimble SketchUp. It puts the power to render directly into your SketchUp session, bringing your models to life.
TWILIGHT RENDER ON SOCIAL
Follow Twilight Render: 🤍
Like Twilight Render: 🤍
#photorealistic
#sketchuprender
#twilightrender
Twilight Render Plugin
Что нового?
05.11.2021
- Настройки элементов карты объединены в одном всплывающем окне с вкладками.
- Добавлена возможность менять толщину линий.
16.05.2020
- Добавлен английский язык.
-
Добавлена панель настроек. Новые параметры:
- Размер шрифта;
- Размер звёзд;
- Цвет линий и названий созвездий;
- Цвет звёзд;
- Цвет неба (можно создать карту на прозрачном фоне).
- Добавлена возможность создать ссылку на карту с Вашими настройками.
- Добавлена кнопка для скачивания изображения в формате PNG (работает и в полноэкранном режиме).
- Добавлена возможность убрать дату, время и координаты в левом верхнем углу карты.
- Добавлен выбор проекции напрямую из выпадающего списка.
21.01.2020
-
Карта обновлена до версии 0.7.4.
-
Появился полноэкранный режим.
- Проблема: при выходе из полноэкранного режима с помощью клавиши Esc размер карты не уменьшается.
- Временное решение: для выхода из полноэкранного режима используйте двойное нажатие (двойной клик левой кнопкой мыши).
-
Появился полноэкранный режим.
- Добавлен блок с Яндекс.Картой для указания географических координат наблюдателя.
- Добавлена информация о времени на карте.
Adding a Skybox in HDRP using HDRI in Unity
26130
477
41
00:04:01
05.01.2021
Asset Refresh at 50% off Asset store ends March 24, 2022: 🤍
You have clouds in your HDRI? check out how to make them move here : 🤍
Adding a Skybox or HDRI to HDRP is a bit different, So in this video i’ll show you have to add one and show you how to use the Sky and Fog Volume. If you want to
Add a Skybox to URP watch this video : 🤍
And download the HDRI i used in this video from here
HDRI Kiara 1 Dawn : 🤍
Timestamps:
0:00 Intro
0:16 HDRP Presets
1:10 Add HDRI Override
2:25 Adjusting HDRI Parameters
2:51 Using HDRI as Overlay to Physically Based Sky
Don’t forget to like and subscribe for more videos like this one
Skyboxes & HDRI Maps in Unity
59108
828
60
00:07:24
07.08.2018
In this tutorial I show you how to setup HDRI maps and environment skyboxes in Unity. This allows you to get more realism in your scenes because it’s based on real world places and data! Skyboxes will change the lighting, and shading of your scene and allow for a 360 degree panoramic view of the entire sky. Whether this is day, night or interior!
️HDRI Haven: 🤍
INSANE UNITY SAVINGS
️Ukraine Unity MEGABUNDLE: 🤍
️Unity Lightning MEGABUNDLES: 🤍
INSANE HUMBLE SAVINGS: 🤍
️Learn Unity Tutorial Bundle: 🤍
️2D/3D Game Art Tutorial Bundle: 🤍
️Synty Polygon Bundle: 🤍
️Music Creator Bundle: 🤍
️Book Coding Bundle: 🤍
Get OVER 115 Scripts, Projects and premium content on my PATREON HERE:
🤍
Join the Community Discord:
🤍
BIG DISCOUNTS on my website, for my UNITY ASSETS:
(Use the code «speedtutor-yt-5» for an additional 5% off)
🤍
Make a donation to the channel:
🤍
·························································································
Get Access to Scripts, Projects and Premium Content:
🠺 Patreon: 🤍
️ Check Out My Puzzle Assets — Unity Asset Store: 🤍
Adventure Puzzle Kit: 🤍
Safe Unlock System: 🤍
Chess Puzzle System: 🤍
Examine System: 🤍
Generator System: 🤍
Keypad System: 🤍
Gas Mask System: 🤍
Flashlight System: 🤍
Note & Letter System: 🤍
Themed Key System: 🤍
Padlock System: 🤍
Phone System: 🤍
Lever Puzzle System: 🤍
Valve Puzzle System: 🤍
Fuse Box System: 🤍
️Model Packs:
PBR Themed Key Model Pack: 🤍
PBR Chess Piece — Key & Fuse Model Pack: 🤍
························································································
▼ Connect with me:
| Become a Patron: 🤍
| Discord: 🤍
| Twitter: 🤍
| Facebook: 🤍
| Website: 🤍
·······················································································
#SpeedTutor #Unity #Skyboxes
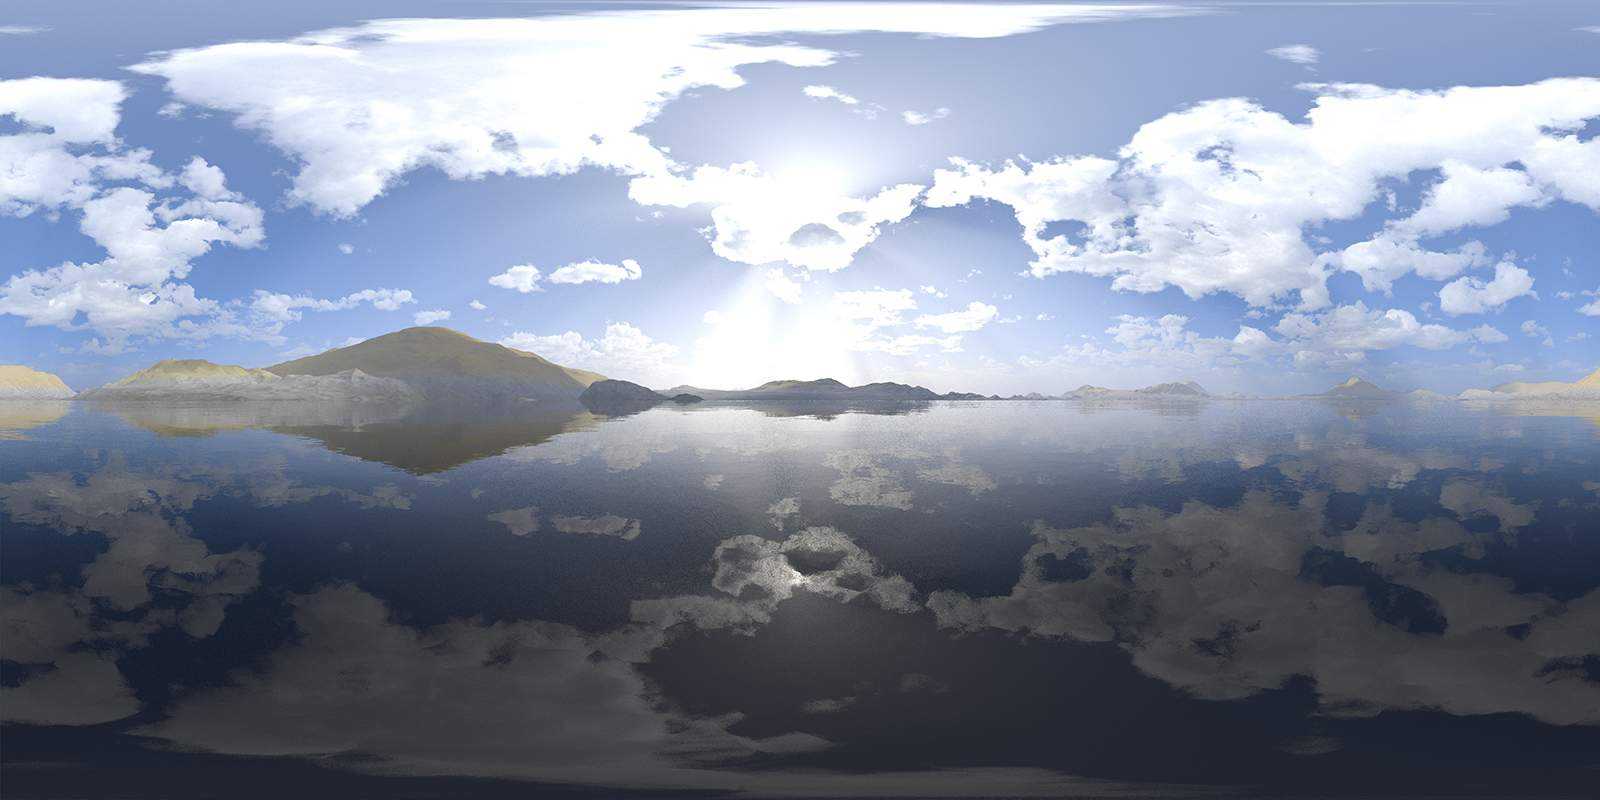
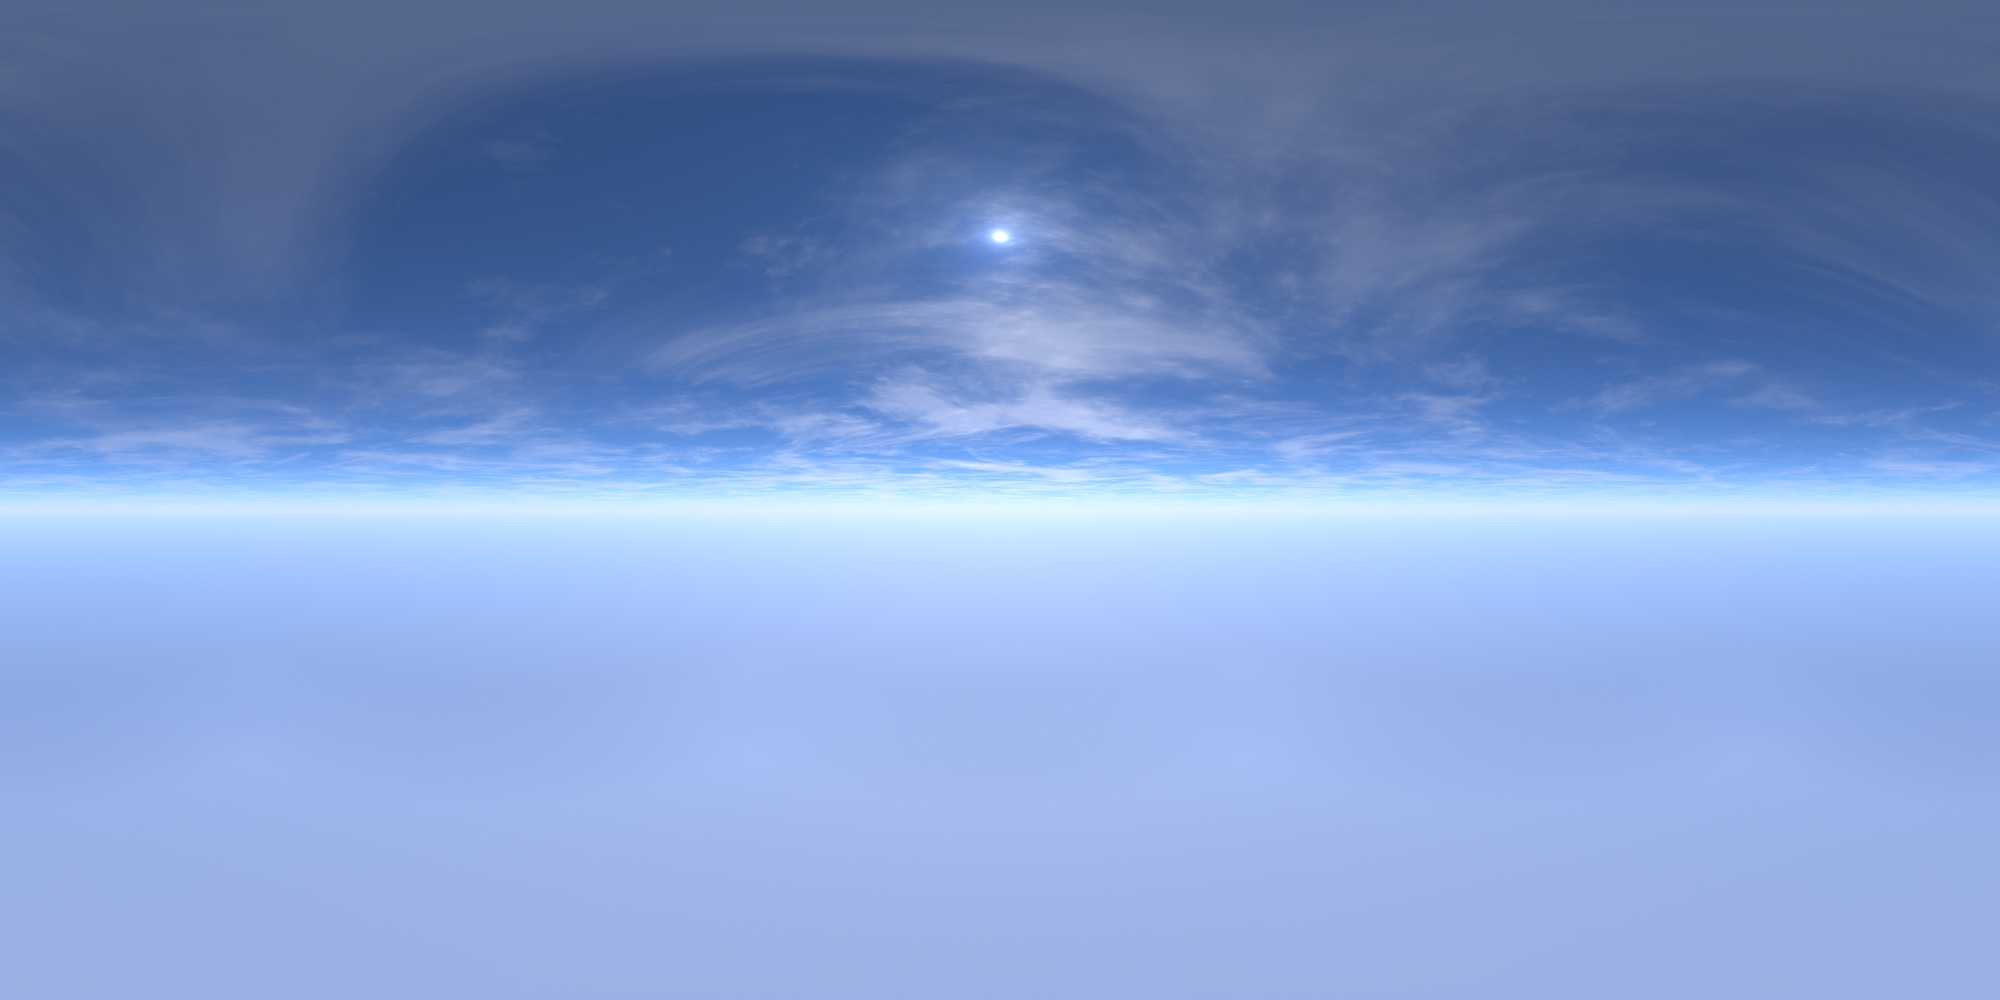
Чёткость теней
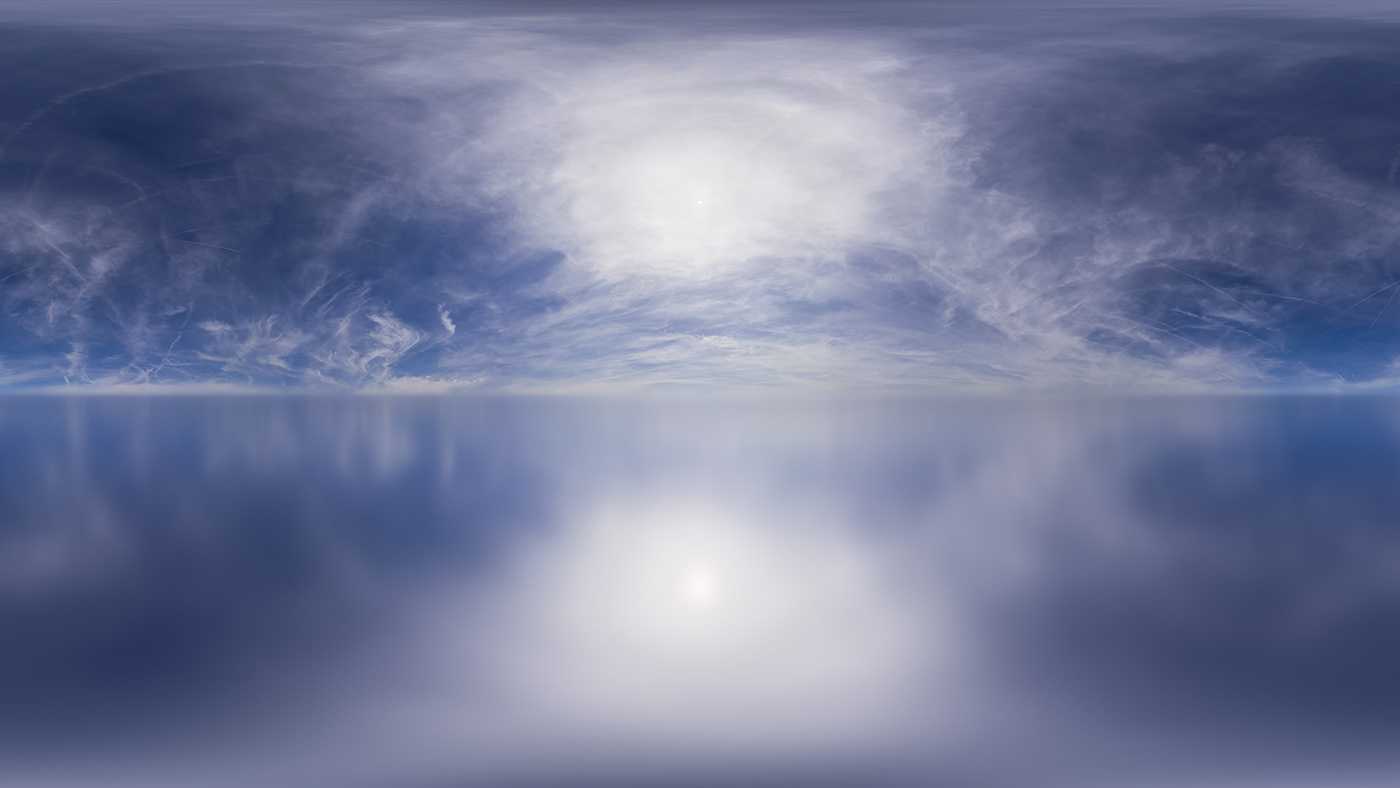
Насколько чёткими будут тени на изображении — напрямую зависит от размера источника света. На этих HDRI-картах солнце — главный источник света. На изображении слева тени очень чёткие. Так получилось, потому что самые яркие пиксели в этом HDRI расположены на очень маленькой области.
На правой картинке солнце намного больше по размеру, а в середине солнечной «звезды» совсем нет пикселей, которые были бы ярче остальных. Таким образом, все эти пиксели сильно влияют на общее освещение. Из-за большого солнца тени мягкие и проявляются очень слабо. Они едва видны, потому что почти нет разницы в яркости между солнцем и небом. Таким образом, баланс освещения сбивается.
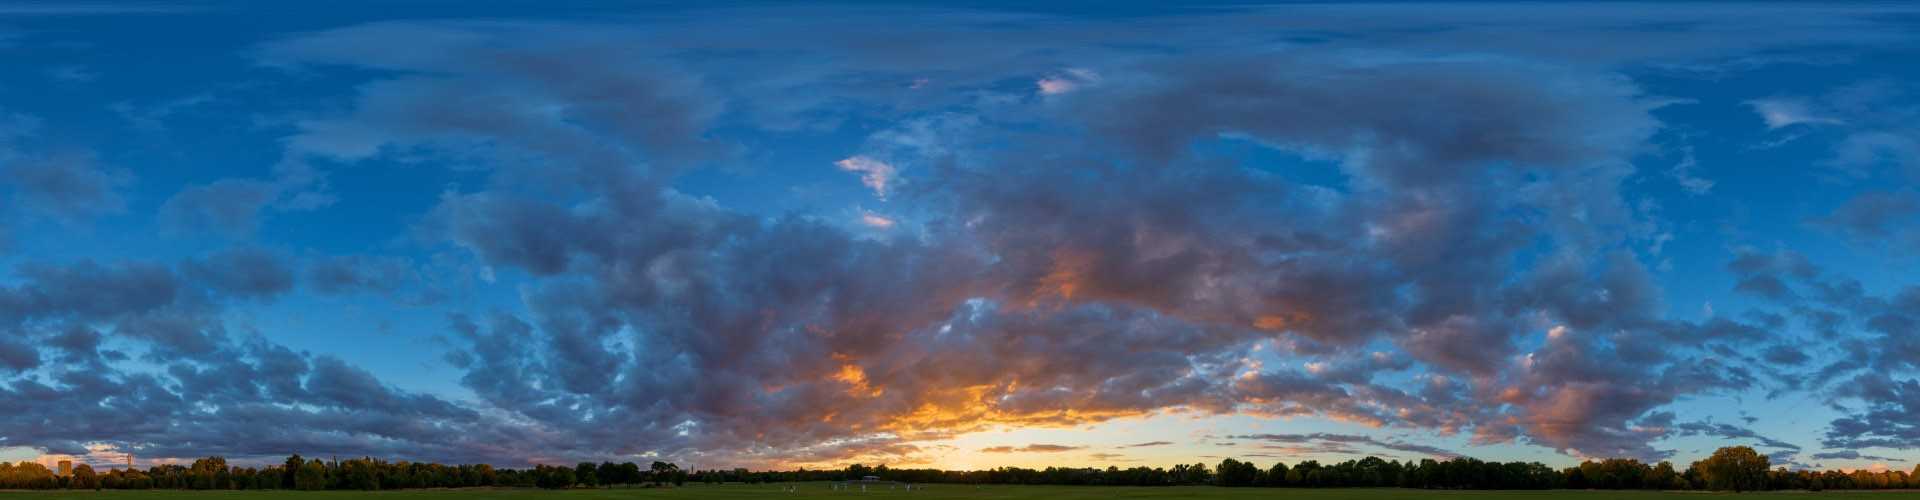
![10 лучших веб-сайтов, которые можно получить бесплатно в формате hdri [обновление 2021 г.]](https://pvtest.ru/wp-content/uploads/1/2/9/12968f55647f69bab7132c2b4892dbd6.jpeg)